
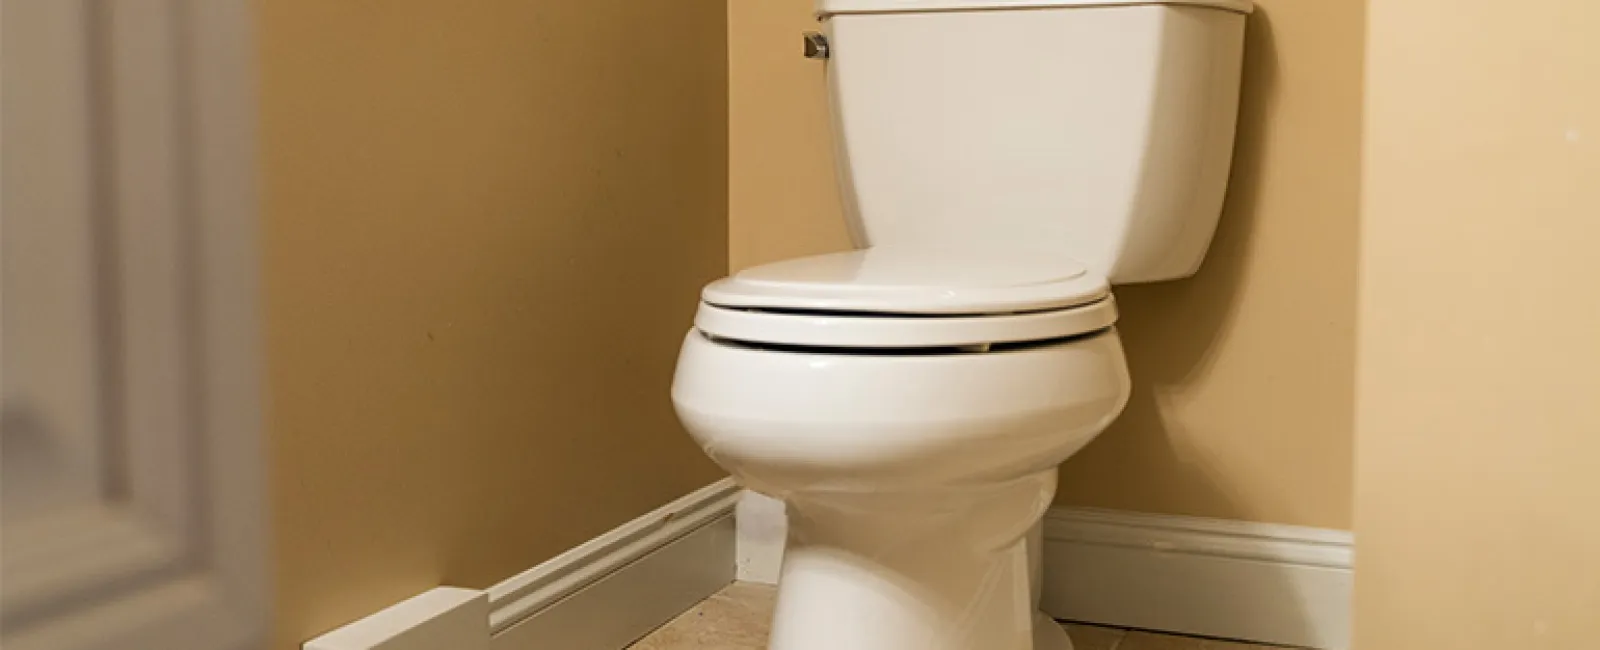
An ideal toilet seat should be tight and good-looking, nevertheless, if it wobbles, cracked or show signs of wear and tear, then it's time for replacement.
Most people get scared when it comes to toilet issues, but that is understandable. therefore, we've prepared this guide to help you. Ideally, the installation should take just a couple of minutes to get done.
If at any point you're stuck in the process, do not hesitate to give an emergency call to Mr. Rooter Plumbing. We offer professional plumbing services with an excellent track record of customer satisfaction. As soon as we receive your call, we will send a certified, trained, and experienced expert to your location to complete the installation.
Required Tools
- Toilet seat kit
- Adjustable wrench or pliers
- Tape measure
- A flathead screwdriver
- Lubricating spray oil (when appropriate)
Procedure for Toilet Seat Installation
Before commencing the installation, ensure you have a clean working environment. You can use your antibacterial bathroom cleaner to sanitize the toilet seat, bowl area, and the surrounding hinge. This protects you against potential bacterial and viruses. With a clean working area and your tools ready, let's get started.
Step 1:
Look for where the toilet seat is attached to the bowl. If the bolts are covered with a cap, use your flathead screwdriver to remove the bolts caps by prying them off with care.
Step 2:
Skip step 1 if there're no bolt caps. Now, locate the bolt and nuts below the edge of your toilet bowl side. Use an adjustable wrench to lose the nuts by turning them anti-clockwise. Suppose you've got slots on the bolts, found at the hinges' base, use your screwdriver to remove them.
Step 3:
Continue turning the bolt counterclockwise till it loosens enough — for easy removal.
Step 4:
If the bolts aren't coming easily, this always indicates rust or grime. Use lubricating oil or spray and wait for a few minutes before trying again.
Step 5:
After successfully removing the bolts, discard the toilet seats, hinges, bolts, nuts, and other old pieces.
Then it's time to install your new toilet seat.
Step 6:
Place the seat carefully on the toilet, ensuring the hinges lined up with the existing ones. Now, insert the bolts into the hinges, ensuring the bolts points up. In case the bolts come with a washer, place them before threading the nuts. Finally, use your hand to tighten the nut, and then use your adjustable wrench to make it tighter.
Step 7:
If your toilet kits come with plastic caps, snap appropriately, and press down to fit.
Get in Touch with a Professional
If the steps look daunting or the installation process gets overwhelming, Mr. Rooter plumbing will be happy to take over and make your toilet seat installation hassle-free. Without delay, we'll send a skilled plumber in Atlanta with the appropriate tools and expertise to get the job done.
Contact Mr. Rooter Plumbing today for urgent installation, job estimates, or more information about our professional toilet seat installation and plumbing services.